Are you a fan of that iconic chocolate and coconut combination? The one that transports you to a tropical paradise with every bite? If the answer is a resounding yes, then prepare to have your world (and your taste buds) transformed. While store-bought Mounds bars are a classic, there's an undeniable magic in creating your own. This article will guide you through crafting incredibly easy homemade coconut mounds cups that are not just superior in flavor but also offer endless customization possibilities. Get ready to ditch the wrapper and dive into the delectable world of homemade candy!
Why Homemade Coconut Mounds Cups Trump Store-Bought Every Time
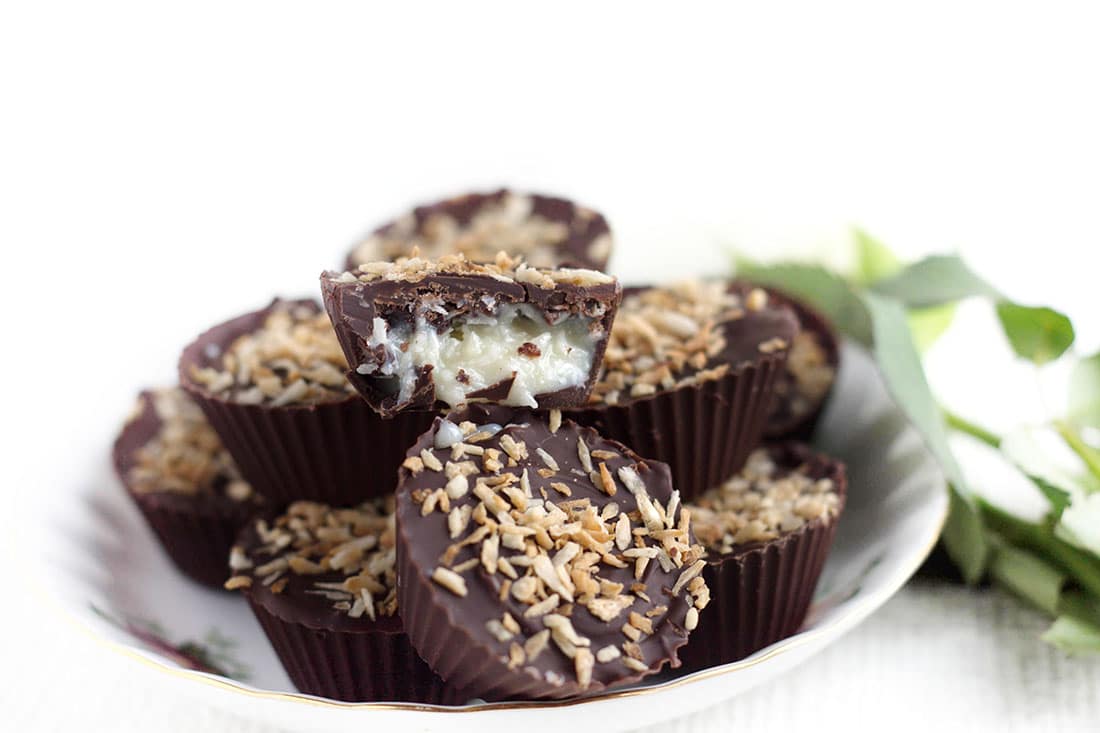
The allure of a Mounds bar is powerful: rich dark chocolate encasing a sweet, moist coconut filling. But let's be honest, even the best store-bought versions often fall short of perfection. They can be overly sweet, lacking the depth of flavor that truly high-quality ingredients can provide. This is where the beauty of making your own homemade coconut mounds cups comes into play.
Unbeatable Flavor and Freshness
- Quality Ingredients Make a Difference: When you make them at home, you control the quality of every component. Freshly shredded coconut, rich condensed milk, and importantly, your choice of high-quality chocolate, elevate the flavor profile beyond anything you’ll find in a mass-produced candy bar.
- Tailored to Your Palate: Are you a dark chocolate purist? Or do you prefer the creamy sweetness of milk chocolate? Maybe something in between? With homemade, you decide. You can even experiment with different cacao percentages to find your ideal balance of bitterness and sweetness.
- The Toasting Advantage: A simple step like lightly toasting a portion of your coconut can dramatically enhance the flavor. It brings out a nutty aroma and a subtle crunch that store-bought versions rarely (if ever) offer.
- Depth of Sweetness: Introducing a touch of golden syrup, as some recipes suggest, adds a caramel-like depth to the coconut filling that granulated sugar alone cannot replicate. This subtle nuance is a game-changer.
Ease, Customization, and Fun
Many people find the idea of making homemade candy intimidating, but these coconut mounds are proof that it doesn't have to be. This is a no-bake treat that requires minimal effort and simple ingredients. It’s an easy project for beginners and a fun activity for families.
- Simple Ingredients, Incredible Results: You only need a handful of pantry staples: shredded coconut, sweetened condensed milk, powdered sugar, and chocolate. That’s it!
- No Baking Required: Skip the oven and the complicated steps. This recipe is all about mixing, shaping, chilling, and dipping.
- Your Candy, Your Way:
- Chocolate Preference: Dip in your favorite dark, milk, or semi-sweet chocolate.
- The Almond Joy Twist: Craving an Almond Joy? Simply press a whole almond into the center of your coconut ball before dipping.
- Shape and Size: Make them bite-sized cups, classic bar shapes, or elegant truffles. A small cookie scoop makes portioning a breeze.
- Festive Flair: They’re perfect for any occasion – Easter dessert tables, Christmas cookie exchanges, or as a delightful addition to a candy buffet at parties.
Crafting Your Delectable Homemade Coconut Mounds Cups: The Simple Process
Ready to get started? The journey to your perfect homemade coconut mounds cups is surprisingly straightforward. Here’s a detailed breakdown of the simple steps.
Step-by-Step Guide to Coconut Perfection
- Prepare the Coconut Filling:
In a large mixing bowl, combine the shredded coconut, sweetened condensed milk, and powdered sugar. If you’re using golden syrup for added depth, mix it in now. Stir everything thoroughly. At first, it might seem like the mixture won't come together, but keep stirring. The condensed milk will gradually absorb the powdered sugar, creating a cohesive, pliable mixture. This patience is key to achieving the perfect creamy consistency.
- Shape and Chill:
Once your coconut mixture is well combined, it's time to shape your treats. You can use a small cookie scoop for uniform balls or simply roll portions between your palms. For a classic cup shape, you can press the mixture into mini-muffin liners or small silicone molds. Place your shaped coconut pieces on a baking sheet lined with parchment paper or wax paper. Pop them into the freezer for at least 30 minutes. This step is crucial as it firms them up, making them much easier to dip in chocolate without falling apart.
Pro Tip: After their initial freeze, if you want perfectly smooth shapes, you can quickly roll them between your hands again, then return them to the freezer for another 5-10 minutes while you prepare the chocolate.
- Melt the Chocolate:
Choose your chocolate wisely! A good quality dark chocolate with around 54.5% cacao strikes a beautiful balance – it’s rich without being too bitter or too sweet, and it melts wonderfully. However, feel free to use semi-sweet, bittersweet, or even milk chocolate chips if that’s your preference. Melt your chosen chocolate using a double boiler or in the microwave in 30-second intervals, stirring well after each. Be careful not to scorch the chocolate and absolutely avoid getting any water into it, as this can cause it to seize.
Expert Advice: Using a quality dipping chocolate or chocolate intended for melting (often labeled as baking chocolate or compound chocolate) means you won't typically need to temper it, simplifying the process even further.
- Dip and Decorate:
Working quickly, take your firm coconut shapes from the freezer. Using a fork or a dipping tool, submerge each piece into the melted chocolate, ensuring it’s fully coated. Lift it out, allowing any excess chocolate to drip off. Gently place the dipped coconut onto your parchment-lined baking sheet. While the chocolate is still wet, sprinkle with a touch of toasted coconut for extra flavor and visual appeal. Repeat until all your coconut pieces are dipped.
- Set and Enjoy:
Let the dipped treats sit at room temperature for a few minutes until the chocolate hardens and sets. For a quicker set, you can place them in the refrigerator for 10-15 minutes. Once the chocolate is firm, your homemade coconut mounds cups are ready to be devoured!
Elevating Your Homemade Mounds: Tips for Perfection
While the basic recipe is wonderfully simple, a few extra considerations can take your homemade coconut mounds cups from great to absolutely extraordinary.
The Chocolate Factor
The type and quality of chocolate you use will significantly impact the final taste. If you adore the classic Mounds flavor, opt for a good dark chocolate. For a creamier, sweeter treat, milk chocolate is excellent, but be mindful that it will result in a much sweeter filling overall. Experiment with different brands and cacao percentages to discover your ultimate preference.
The Magic of Toasted Coconut
Don't skip toasting your coconut! Spreading a thin layer of shredded coconut on a baking sheet and toasting it in the oven (or in a dry pan on the stovetop) until lightly golden brown adds an incredible depth of flavor and a lovely texture. You can mix some into the filling for subtle notes or sprinkle it on top for a beautiful garnish that complements the chocolate.
Golden Syrup vs. Powdered Sugar Alone
The addition of golden syrup, a British sugar syrup, is a brilliant tip for adding a richer, more complex sweetness to your coconut filling. It contributes a subtle caramel note and a smoother texture that plain powdered sugar might not achieve. If you can’t find golden syrup, a small amount of corn syrup or maple syrup can offer a similar, though slightly different, depth.
Storage and Serving Suggestions
Once your homemade coconut mounds cups are set, store them in an airtight container. They will keep well at room temperature for up to a week. If you want to extend their freshness, especially in warmer climates, you can store them in the refrigerator for up to two weeks. For longer storage, they freeze beautifully for several months. Just be aware that refrigeration or freezing can sometimes cause a slight "bloom" on the chocolate (a harmless discoloration) due to temperature fluctuations, but they will still taste delicious.
These delightful treats are perfect for any occasion. Serve them after dinner with coffee, offer them as part of a holiday dessert platter, or simply keep a stash hidden away for those moments when only a blissful chocolate and coconut fix will do. Their bite-sized nature makes them ideal for sharing, though you might find yourself wanting to keep them all to yourself!
Conclusion
Making your own homemade coconut mounds cups is a rewarding culinary adventure that promises a taste experience far superior to any store-bought alternative. With simple ingredients, easy steps, and endless possibilities for customization, you’re not just making candy; you're crafting a personalized treat that caters perfectly to your cravings. So, gather your ingredients, embrace the simplicity, and prepare to fall head over heels for these delectable, homemade bites. Once you try them, you'll likely never look at a pre-packaged Mounds bar the same way again!
